How to Clean Glass and Remove Window Glazing Smudges: Step-by-Step Guide
After completing a window glazing project, you're often left with unsightly putty smudges, oil residue, and glazing compound marks on your pristine glass. These stubborn marks can diminish the professional appearance of your work and obscure your view. This comprehensive guide provides proven methods to clean the glass effectively after puttying, remove old glazing putty residue, and restore crystal-clear windows. Whether you're a DIY homeowner tackling a home improvement project or a professional seeking the best techniques, understanding how to properly clean glass after glazing work will save you time and frustration while achieving spotless results.
Why Does Glazing Putty Leave Smudges on Glass?
Understanding why putty creates stubborn marks on glass helps you prevent and remove them more effectively. Glazing putty contains oils and compounds that naturally transfer to glass surfaces during application.
Traditional glazing putty is oil-based, typically containing linseed oil mixed with whiting powder or chalk. When you apply putty to a window sash, these oily components inevitably contact the glass surface. The oil creates a film that attracts dust and creates visible smudge marks that don't easily wipe away with simple cleaning. This oily residue bonds to the glass more strongly than ordinary dirt, requiring specific cleaning approaches.
The puttying process itself contributes to smudging. As you work the putty into place along the glass edge, your tool or fingers slide across the glass surface, transferring oils and compound. Even careful application leaves some residue, making post-glazing cleaning an essential step in any window restoration project. Understanding this helps you approach cleanup methodically rather than becoming frustrated with persistent marks.
What Are the Best Methods to Clean Glass After Glazing?
Several effective techniques exist for removing putty smudges, with the best method depending on whether the putty is fresh or has cured. Fresh putty requires different handling than dried, old glazing compound.
For fresh putty smudges encountered immediately after puttying, dry removal works best as the initial step. Use a clean, dry paper towel to gently wipe excess putty from the glass before it sets. This removes the bulk of the material without spreading oil residue. Follow this with a soft cloth lightly dampened with mineral spirits, which dissolves oil-based putty residue without damaging the glass or fresh glazing compound. Wipe in straight strokes rather than circular motions to avoid spreading residue across a larger area.
Once putty has cured, a different approach yields better results. Start by carefully scraping any raised putty using a razor blade held at a low angle to avoid scratching the glass. Apply gentle, consistent pressure and work slowly. After scraping, clean remaining oil residue using whiting powder—the same material found in glazing putty. Sprinkle a small amount on a damp cloth and rub the smudge in circular motions. The powder acts as a mild abrasive while absorbing oils, effectively removing stubborn marks without harsh chemicals.
How Do You Remove Old Glazing Putty Residue from Windows?
Old glazing compound that has hardened over the years presents special challenges requiring patience and proper technique. Removing old putty residue safely preserves both the glass and the window frame.
Begin by assessing whether you need to remove the old putty entirely or just clean residue from the glass surface. If you're planning to reglaze the window, you'll need to remove all old compound from the sash. Use a putty knife or specialized scraper to carefully pry away the bulk of aged glazing compound. Work slowly to avoid cracking the glass or damaging the wood sash. Heat from a heat gun can soften extremely hard, old putty, making removal easier, though care is required to avoid overheating the glass.
After removing the bulk of old putty, address the thin film of residue remaining on the glass. This aged oil residue often appears as a cloudy haze. Mix warm water with a small amount of soap to create a cleaning solution. Apply this with a soft cloth, letting it sit briefly to soften the residue. Follow with whiting powder on a damp towel, using gentle circular motions. For particularly stubborn areas, mineral spirits on a clean cloth effectively dissolve oil-based residue. Always work in a well-ventilated area when using spirits.
What Tools and Materials Do You Need for Cleaning Glazing Smudges?
Having the right supplies makes the cleaning process more efficient and reduces the risk of damaging your windows. Most materials are inexpensive and readily available at home improvement stores.
Essential tools include razor blades or a quality scraper for removing excess putty. Choose a blade holder that allows you to control the angle precisely to prevent scratching. You'll also need clean, soft cloths—microfiber works well—and paper towels for initial cleanup. A small paintbrush helps remove powder residue from corners and crevices after cleaning.
Materials for the cleaning process should include whiting powder, which you can purchase at paint stores or online through forums dedicated to traditional home restoration. Mineral spirits serve as the primary solvent for oil-based putty residue. Keep a supply of clean water available, along with mild soap. For stubborn areas, you might also use fine steel wool (0000 grade only) on glass, though this requires caution. Having multiple clean towels available prevents spreading residue as you work.
Can You Prevent Putty Smudges During the Glazing Process?
Prevention reduces cleanup time significantly. Several techniques minimize putty transfer to glass during application, though some cleanup remains inevitable.
Apply painter's tape along the glass edge before glazing, leaving the metal or wood glazing bed exposed. This creates a barrier preventing putty from smearing onto the glass surface. After applying and smoothing the glazing putty, carefully remove the tape while the compound is still soft. This method works particularly well for those new to puttying who haven't yet developed the steady hand that prevents smudges.
Using the proper tool for smoothing glazing compound also reduces smudges. A putty knife or glazing tool with a clean blade transfers less material to glass than one caked with old putty. Wipe your tool frequently on a clean cloth as you work. Some professionals prefer to slightly dampen their putty knife, which helps the tool glide smoothly without sticking or dragging across the glass. These preventive measures don't eliminate cleanup entirely but significantly reduce the work required.
How Long Should You Wait Before Cleaning Glass After Glazing?
Timing your cleanup correctly protects your fresh glazing work while ensuring effective residue removal. The optimal waiting period depends on the type of putty and environmental conditions.
For immediate cleanup of obvious smudges and excess putty, work carefully within the first hour after application. Use dry paper towels to lift away any putty that's strayed onto the glass surface. This removes material before it begins to set, preventing harder-to-remove residue later. However, avoid aggressive scrubbing near the fresh glazing compound, as you might disturb the seal between putty and glass or sash.
For thorough cleaning using solvents or abrasive methods, wait until the glazing putty has formed a skin—typically 2-3 days depending on weather conditions. At this stage, the surface has hardened enough that gentle cleaning won't damage the compound, but the putty hasn't fully cured. This represents the best window for removing stubborn smudges. Clean carefully near the putty line, avoiding pressure that could compromise the seal. Full cleanup of any remaining residue can wait several weeks if needed, once the putty has completely cured.
What's the Step-by-Step Process for Cleaning Glazed Windows?
Following a systematic approach ensures thorough cleaning without missing spots or damaging your fresh glazing work. This process works for most window cleaning situations after glazing.
Step one involves initial dry cleanup. Within the first hour after applying putty, use clean, dry paper towels to gently remove any obvious putty smudges. Wipe with light pressure, moving excess putty away from the glass rather than spreading it. This removes the bulk of unwanted material before it adheres strongly.
Step two addresses oil residue after the putty has skinned over (2-3 days). Prepare whiting powder by placing a small amount on a damp cloth. Rub affected areas using circular motions, allowing the powder to absorb and lift oil-based residue. The powder provides mild abrasive action without scratching glass. Wipe the area with a clean, damp towel to remove powder, then dry with a soft cloth. For persistent smudges, apply mineral spirits to a clean cloth and wipe the area, following immediately with a dry towel to prevent streaking.
Step three involves final polishing once the putty has fully cured. Mix warm water with a small amount of soap and clean the entire window surface. Use a brush to remove any whiting powder trapped in corners. Rinse with clean water and dry with a lint-free cloth or paper towel. This final step restores clarity and removes any remaining haze, leaving your glass spotless.
Are There Alternative Methods to Remove Stubborn Glazing Residue?
When standard cleaning techniques don't fully remove stubborn putty smudges, several alternative approaches can tackle persistent residue without damaging glass.
One effective method uses fine chalk dust instead of whiting powder. Apply dry chalk dust to the smudge and rub with a soft, slightly damp cloth. The chalk absorbs oils while providing gentle abrasion. This works particularly well on old, stubborn residue that has been on glass for years. After rubbing, wipe clean with water and dry thoroughly.
Another approach employs careful scraping with a razor blade for hardened putty deposits. Hold the blade at a very low angle—nearly parallel to the glass—and push gently to shave off raised residue. This method requires patience and a steady hand but effectively removes material that won't respond to chemical cleaning. Always use a fresh, sharp blade to minimize scratching risk, and keep the glass surface wet while scraping to lubricate the blade. Follow scraping with standard cleaning using whiting powder or mineral spirits to remove any remaining oil film.
How Do You Clean Different Types of Windows After Glazing?
Different window configurations and glass types require adapted cleaning techniques. Understanding these variations ensures effective cleaning without damage.
For standard single-pane windows in a wood sash, the techniques described earlier work well. Focus cleaning efforts on the glass while being careful near the fresh putty line. Avoid getting excessive moisture on wood, as this can cause swelling or paint damage. Use damp—not wet—cloths and dry the area promptly.
Multi-pane windows with multiple glazing points require more careful work. Clean each pane individually, taking care around the muntin bars (the wood dividers between panes). These narrow surfaces collect putty residue in corners where glass meets wood and metal glazing points. A small paintbrush helps remove powder residue from these tight spaces. For historic windows with very old glass that may have surface imperfections, use especially gentle pressure when scraping to avoid catching the blade on irregularities that could cause chips.
What Should You Avoid When Cleaning Glass After Glazing?
Certain common mistakes can damage your windows or fresh glazing work. Avoiding these pitfalls protects your project investment and ensures successful cleaning.
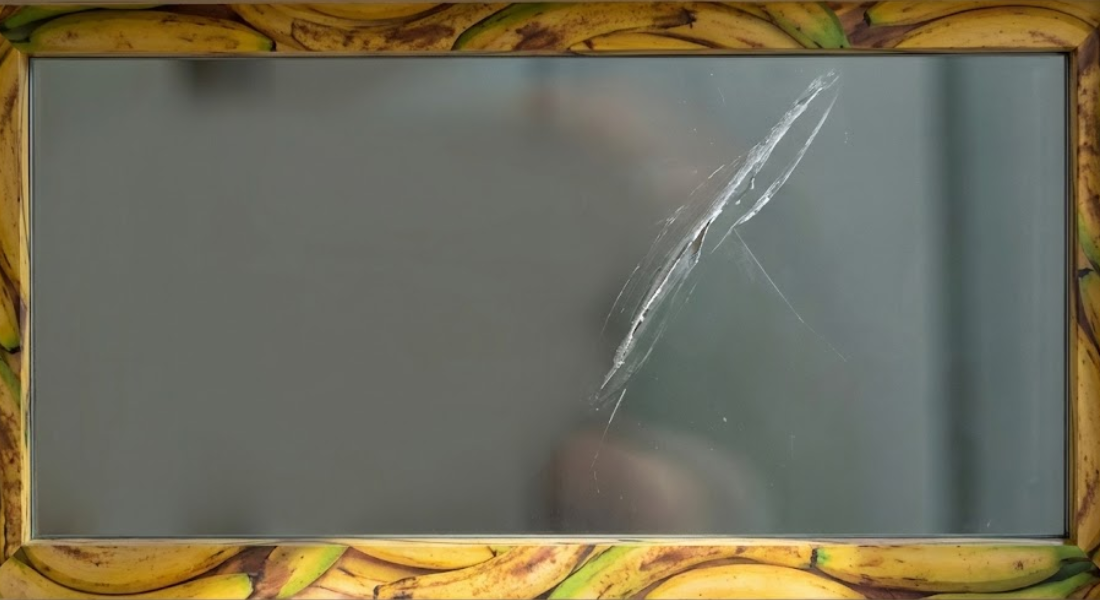
Never use harsh abrasive cleaners or scouring powders on glass. While glass is relatively scratch-resistant, aggressive abrasives can create fine scratches that become more visible over time, especially when sunlight hits the surface at certain angles. Similarly, avoid using metal scrapers or tools on painted or finished surfaces around the window, as these will damage the finish. Restrict scraping to glass surfaces only.
Don't clean too aggressively near fresh glazing putty. Even after the surface has skinned over, the compound beneath remains soft for weeks. Excessive pressure or solvent application near the putty line can dissolve or displace the compound, compromising the seal. Always work gently in these areas and direct cleaning motions away from the putty rather than toward it. Patience produces better results than force when addressing stubborn smudges.
Read Our Other Blog
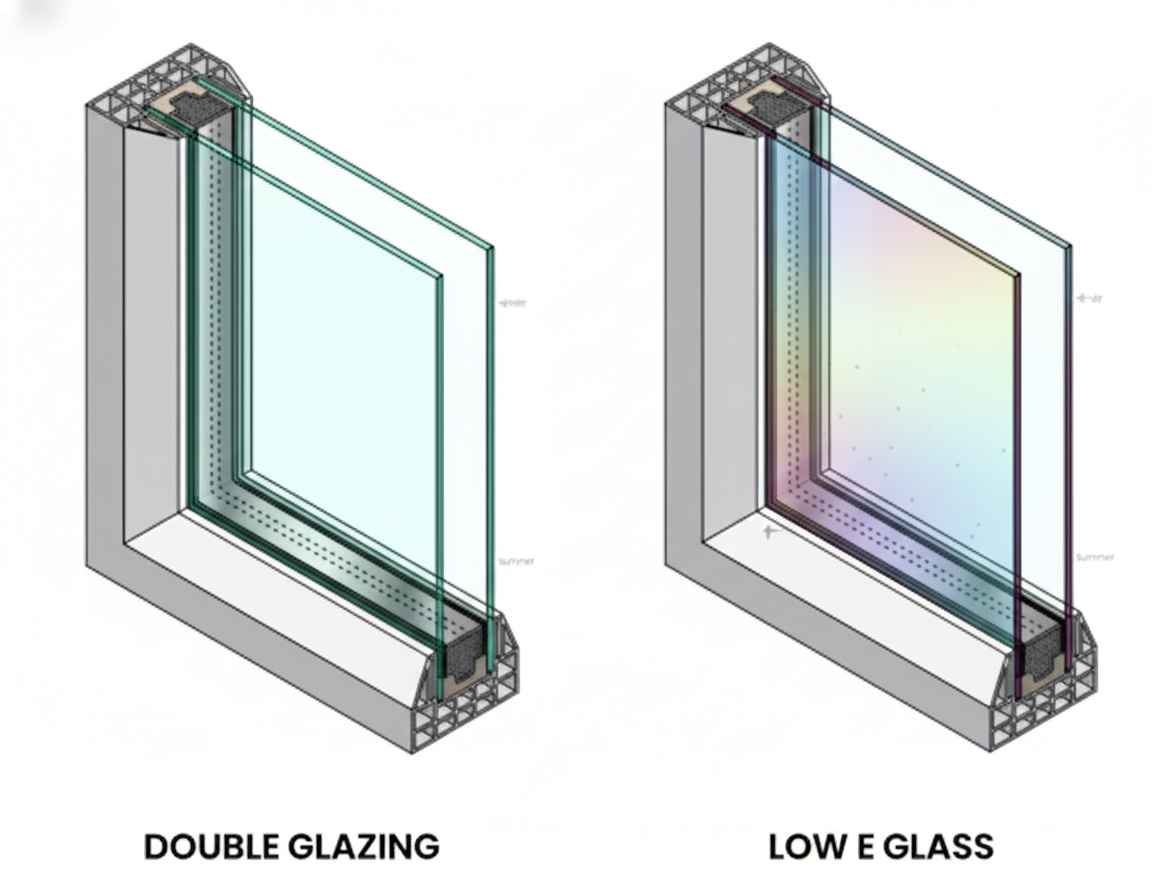
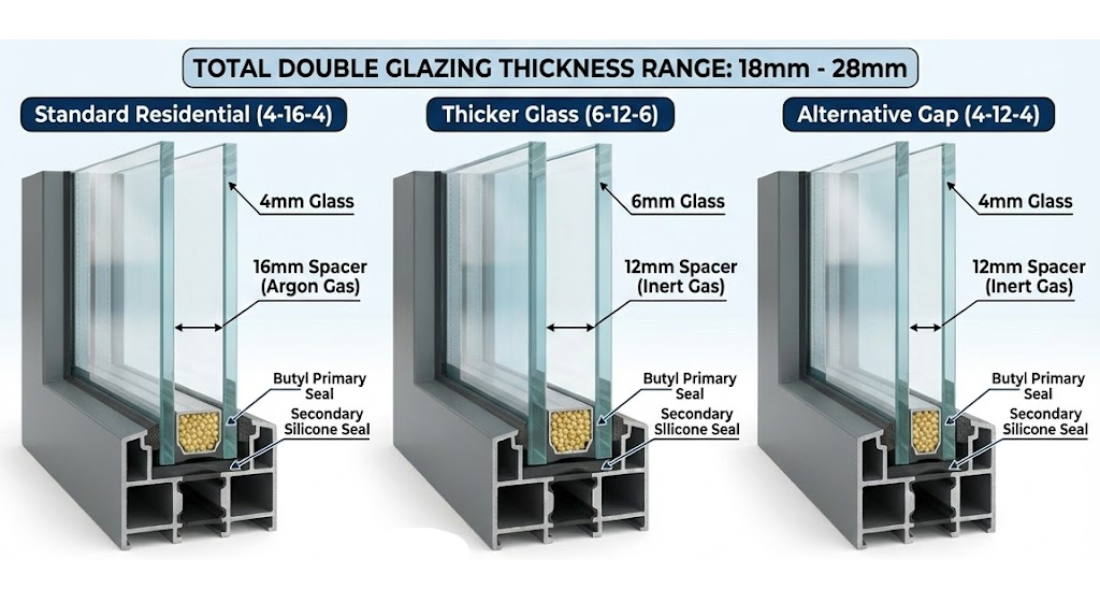
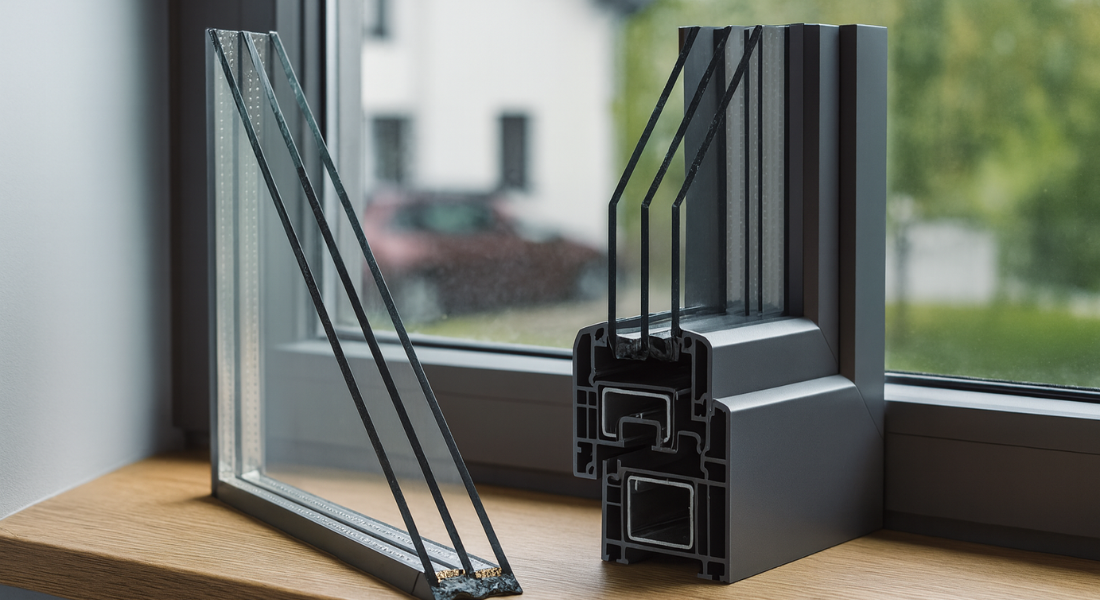
If you’re working on windows, cleaning up glazing smudges is only half the work. Understanding the glass itself is what really determines long-term performance. That’s why you’ll want to check out our related post, “Double Glazing Thickness Explained: How Thick Is Double Glazed Glass and Why It Matters.” It breaks down the most common double glazed glass thickness options, how spacing impacts insulation, noise reduction, and energy efficiency, and what thickness is best depending on your home or project. If you’re repairing, upgrading, or planning a full window replacement, this guide will help you make the right choice before you invest.
Frequently Asked Questions About Cleaning Glass After Glazing
1. Can I use vinegar to clean glazing putty smudges from glass?
While vinegar works for general glass cleaning, it's not ideal for oil-based glazing putty residue. Vinegar is water-based and doesn't effectively dissolve the oils in putty. Mineral spirits or whiting powder work much better for removing oily smudges. However, vinegar can be used in the final rinse step after you've removed the putty residue with appropriate methods.
2. Will scraping with a razor blade scratch my window glass?
When used correctly, a sharp razor blade won't scratch standard window glass. The key is using a fresh blade at a very low angle (nearly parallel to the glass) and keeping the surface slightly damp. Avoid using blades on specialty glass coatings or very old, delicate antique glass. If you're uncertain, test on an inconspicuous corner first.
3. How long does glazing putty take to fully cure?
Oil-based glazing putty typically takes 7-14 days to form a paintable skin, but full curing can take several weeks to months, depending on weather conditions. Warmer, drier conditions speed curing, while cold or humid weather slows it. You can clean the glass after 2-3 days when the surface has skinned over, but be gentle near the putty line until it's fully hardened.
4. What if the putty smudge won't come off with whiting powder?
If whiting powder doesn't remove the smudge, try mineral spirits on a clean cloth. For extremely stubborn, dried-on residue, carefully use a razor blade to scrape the raised material, then follow with mineral spirits and powder. Some very old residue may require multiple cleaning attempts with different methods before it's fully removed.
5. Is it safe to use commercial glass cleaners on freshly glazed windows?
Standard commercial glass cleaners are safe for the glass itself, but should be kept away from fresh glazing putty. Many cleaners contain ammonia or other chemicals that can soften or discolor fresh putty. Wait until the putty has fully cured (several weeks) before using commercial cleaners near the glazing compound, or use plain soapy water instead.
6. Can I paint over glazing putty before cleaning the glass?
You should clean the glass before painting the putty. Paint drips or overspray on glass are much harder to remove than putty smudges. Clean the glass thoroughly first, then after the putty has cured sufficiently (7-14 days), you can paint it. Use painter's tape on the glass edge to keep paint lines crisp.
Key Takeaways: Essential Points for Cleaning Glass After Glazing
- Timing matters for effective cleaning: Remove excess putty immediately with dry paper towels, then wait 2-3 days before thorough cleaning to avoid damaging fresh glazing compound
- Whiting powder is your best friend: This traditional material effectively absorbs oil residue from glazing putty while providing gentle abrasion that won't scratch glass
- Mineral spirits dissolve oil-based residue: For stubborn smudges, mineral spirits on a clean cloth effectively remove oil from glazing compound without harsh scrubbing
- Prevention reduces cleanup work: Using painter's tape during glazing and keeping tools clean minimizes putty transfer to glass surfaces
- Different stages require different methods: Fresh putty smudges respond to dry removal and light solvents, while old residue may need careful scraping followed by powder cleaning
- Proper tools prevent damage: Use sharp razor blades at low angles, soft cloths, and appropriate solvents rather than harsh abrasives that could scratch glass
- Work systematically for best results: Follow the three-step process of dry cleanup, powder cleaning, and final washing for thorough, professional-looking results
- Patience prevents mistakes: Gentle, persistent work produces better outcomes than aggressive scrubbing, especially near fresh putty lines
- Avoid water near fresh putty: Use damp rather than wet cloths to prevent moisture from softening or displacing glazing compound before it cures
- Each window type needs an adapted technique: Consider the specific characteristics of your windows, including age, glass type, and frame material, when choosing cleaning methods